 |
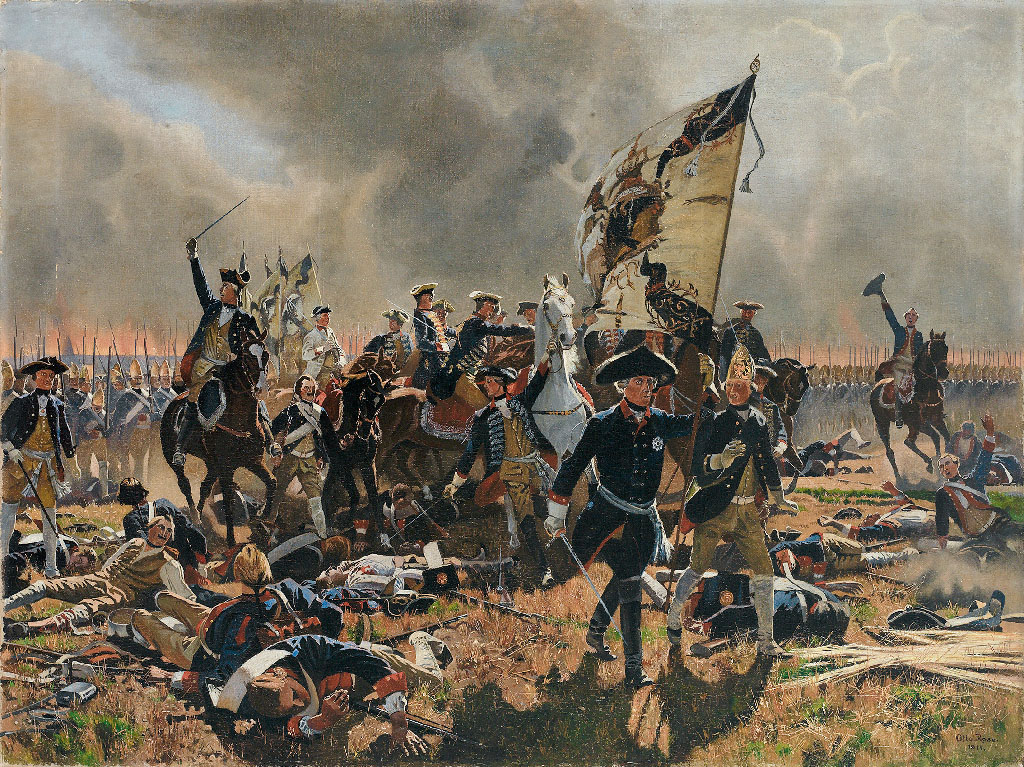
| Battle of Germantown, della Gatta |
Dear Reader,
Today, I want to examine the similarities and differences between two Kabinettskriege era battles, the Battle of Hockirch, which occurred in Saxony on October 14th, 1758, and the Battle of Germantown, which occurred outside Philadelphia on October 4th, 1777. In the first battle, Frederick the Great and his Prussian soldiers squared off against the Austrians under
FM Daun. In the second battle, British General Howe led a expert force of British soldiers against George Washington's American rebels. Aside from the obvious similarities in the weapons systems of the combatants, and the time of the year in which they were fought, these battles contain a number of important similarities useful for students of eighteenth century warfare. A brief description of the two battles will help contextualize the analysis.
In early October, 1758, the Prussian army had recently suffered a setback in its invasion of Moravia, and failed at the siege of Olmütz. However, now that they had returned to Prussian occupied territory, they could rightly expect to return to the string of victories which had previously marked Prussian operations under Frederick. After all, in the previous year, a difficult series of defeats in the summer had been replaced by the crowning achievements of Prussian military history: the twin victories at Rossbach and Leuthen.
The Austrians, on the other hand, had fewer reasons to expect success. Although they had defeated the Prussians at the battles of Kolin and Breslau, they had been horrendously defeated by a smaller force at the Battle of Leuthen the previous year, while their victory at Breslau was a result of superior numbers.
 |
| The original Prussian positions are in light blue, note the numerous Austrian attacking columns |
Noting that the Prussian position around Hochkirch was spread out, and that in the theatre of operations the Prussians had at most 40,000 men with which to defend against his 78,000, Daun decided to attack. The brainchild behind the attack was Austrian Colonel Charles Amadei, who Christopher Duffy asserts was inspired by the multiple Austrian columns used to attack at the Battle of Moys in 1757. A night march on the evening of the 13th-14th of October brought the Austrian attacking columns to within striking distance of the Prussian positions, close enough to hear music and dancing. This decision to attack in separate columns was a novel and almost untried tactic in the 1750s.
At 5am on October 14th, the Austrian attacking columns burst from cover, overwhelming shocked Prussian pickets, and moving to the attack with great speed. The Austrians had achieved complete surprise, through a mixture of false information spread to the Prussian army, and leaving their main camp attended by a few men of each company. Though the Prussians were often only half-dressed, they maintained an effective resistance in the opening stages of the battle, slowly falling back towards the village of Hochkirch.
 |
| The fighitng in Hochkirch, as imagined by 19th century artist Karl Roechling |
As the Prussians were pushed back on the village, Prussian
FM James Keith began feeding fresh units into the desperate fight developing in the midst of the village. Prussian infantry Regiments 13 and 18 led the way, though both were knocked back by canister fire, and
FM Keith was killed. By around 8am, the Prussian position was collapsing, and Prussian infantrymen recalled firing over 120 rounds in this furious engagement.[1] Many Prussian positions were only taken after the infantry had fired away all their ammunition. Prussian sources also note the accuracy of the Austrian fire, which wounded a disproportionate number of officers.
The Prussians were driven from the field, and lost some 9,100 men out of a total of 30,000 engaged, and 104 pieces of artillery. The Austrians, by contrast, lost some 8,000 men out of around 60,000 engaged. With the events of the first battle described, let us move to the second.
 |
| The Battle of Germantown |
During the opening stages of the American War of Independence, the British army soundly defeated the Americans time and again. Throughout many of the battles of 1776, with the notable exception of Trenton and Princeton, British and German forces overcame the American opposition, and seemed to be winning the war. Indeed, the British had defeated the Americans only a month before at the Battle of Brandywine.
However, George Washington's Continental army had been slowly improving, and Washington decided to risk another battlefield encounter with the British forces under General Howe. In his account to congress on October 5th, Washington indicates that Howe's decision to split his army prompted Washington to attack. The numerical advantage lay with Washington's forces, but it was not decisive: the Americans had 8,000 regulars and 3,000 militia with which to confront the 9,000 British and German troops under General Howe.
The American plan of attack called for four columns to make a night march, and then attack simultaneously at 5am. Leaving their camp around 7pm on October 3rd, the American forces were to reach their forward positions two miles from the British lines by 2am. They approached within musket-shot by 4am. Almost immediately, the American reality failed to mesh with the plan. The American columns did not reach the British pickets until 6am, and only two of the four columns made the attack. The British 2nd Battalion of light infantry moved into support the pickets, and the Americans drove them back with great difficulty. General Howe, not realizing the severity of the enemy force to his front, chided the fleeing light infantry streaming past him, until the magnitude of the American attack became apparent.
 |
| Cliveden, the house of Loyalist Justice Chew |
As the American attack intensified, British Lt. Colonel Thomas Musgrave located a tactically significant structure- the stone house of Loyalist Judge Benjamin Chew. Musgrave took initiative, placing 120 men of the 40th Regiment inside the house, which they proceed to defend. The main battle-line stabilized a third of a mile south of the Chew house. However, a number of American units remained behind to besiege the structure. Both of the commanders on the American flanks, Armstrong and Smallwood, failed to apply pressure to the British units in their sector of the battlefield.
The American advance was initially effective as a result of the large volume of fire put out by the 1st and 2nd Maryland Brigades, however, as these brigades moved into contact with more British units, the Marylanders ran out of ammunition. With no ready solution presenting itself, individual men began to move towards the rear, showing their officers empty cartridge boxes to demonstrate that it would be idiotic to stay and fight. A thick blanket of fog, smoke, and noise from the fighting back at the Chew house also served to disorient the advancing American line. The British would counterattack the American positions, relieving the defenders of the Chew house, and begina lackluster pursuit of the American army. The action had lasted barely four hours.
The British and American forces suffered comparable numbers of killed and wounded, 673 Americans to 520 British. In addition to their killed and wounded, the Americans lost some 450 men taken prisoner. What made the battle so costly for the Americans, as Washington admitted to Congress on October 7th, was the American loss of men.

What can be learned?
In both circumstances, the army on the attack had previously suffered a series of defeats at the hands of their adversary. Both attacking commanders saw an opportunity to strike at a smaller enemy force. Both attacking armies were less experienced than their foe, and becoming more experienced in the course of the conflict. Both attacking armies sought to use a relatively novel way of attacking in order to take their enemy by surprise along a wide frontage.
Both defending armies were taken unaware by this novel system of attack. The British and Prussians fought obstinately to buy time in order for more units to come up and attack the enemy. Both defending armies saw subordinate commanders utilizing initiative in order to salvage the situation.
When losses are examined as a percentage of total armies involved, the Prussians suffered by far the heaviest, as around
33% of their total force engaged became casualties. By contrast, the British suffered the least, with rough 5% of their total force becoming casualties. However, the Prussians did inflict a larger loss on their opponents than the British, with 13% of the Austrian army rendered
hors d'combat, compared with 10% of the American fighting force. However, these figures fail to show the true nature of the fighting. Assuming 40% of the Prussian casualties were men captured, (sadly, Prussian losses are not broken down) the Prussian army, in terms of killed and wounded, inflicted a 32% greater loss on the Austrians than they suffered. The British, by contrast, inflicted 23% greater number of killed and wounded on the Americans.
So while the fighting at Germantown was costly to the Americans, the fighting at Hochkirch was some of the bloodiest of the eighteenth century, and left its mark on the Prussian army. It is remarkable that both of these battles played out over the course of
only 4 hours.
The American rebels failed to launch an organized attack in the same manner of the Austrians. While
FM Keith might have played a more decisive role on the battle if he had lived, his piecemeal counterattack wrecked two of the better infantry regiments in the Prussian army, and did nothing to stem the Austrian tide. By contrast, Lt. Colonel Musgrave saw an opportunity to effectively delay the American advance, and his quick thinking my well have saved the British army under General Howe. Both the Americans and the Prussians struggled with ammunition problems as the battle ensued. While the Prussians were able to keep their infantry supplied via ammunition wagons for the majority of the fight, the American infantry appear to have turned back when their initial ammunition load ran empty. However, for both armies, a lack of ammunition effected the overall outcome.
Attacks by disparate columns would continue to play an important role in warfare, and the generals on the defeated sides would learn from these defeats. Oddly enough, Washington does not mention Hochkirch as his inspiration for the plan at Germantown, though many his plans were the same, down to the letter. Frederick II, who mentioned Germantown in several of his letters during the American War of Independence, did not mention any similarities to between these two battles. These battles, though firmly rooted in
Kabinettskriege era warfare, show similarities to later styles of army organization, and presage ideas about divisional level systems of army management.
How should wargamers emulate these battles? Is it good to have two different systems for the AWI and SYW? Could/Should one system capture both eras?
For further information, check out
By Force of Arms, by Christopher Duffy, and volume two of
The Philadelphia Campaign, by Thomas McGuire.
Thanks for Reading,
Alex Burns
[1] Ernst von Barsewisch,
Meine Kriegs-Erliebnisse, 77.


